What You Will Build
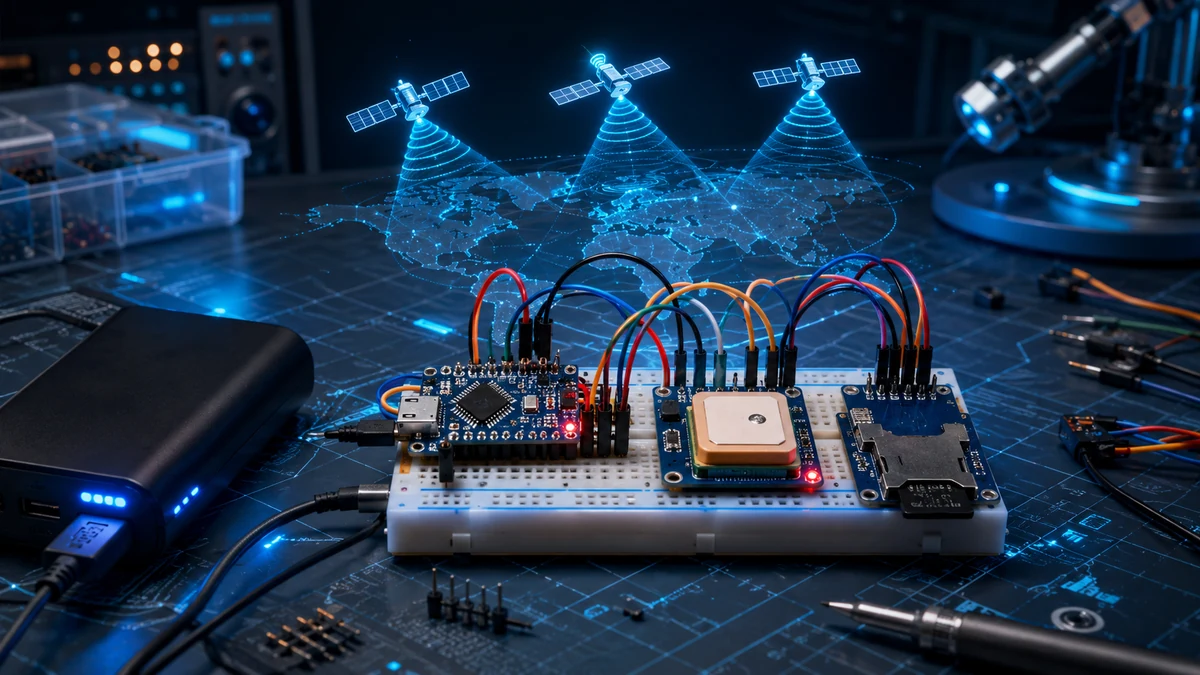
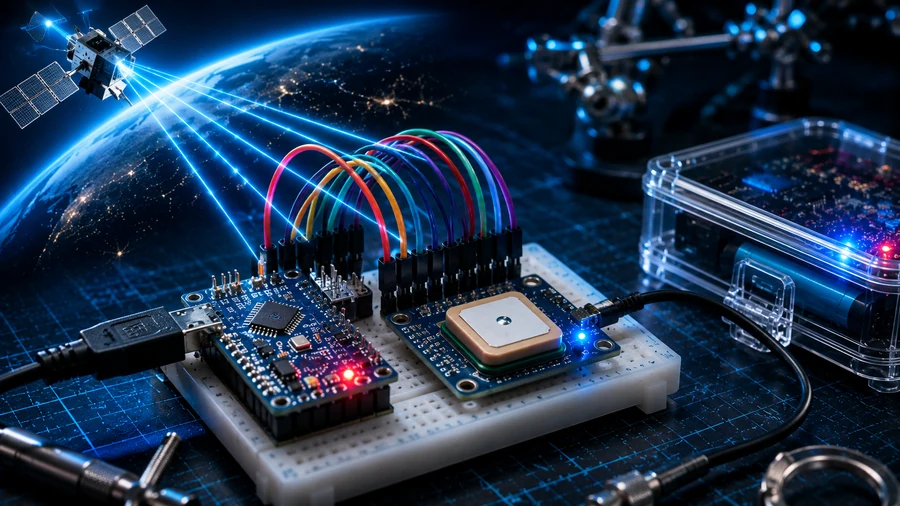
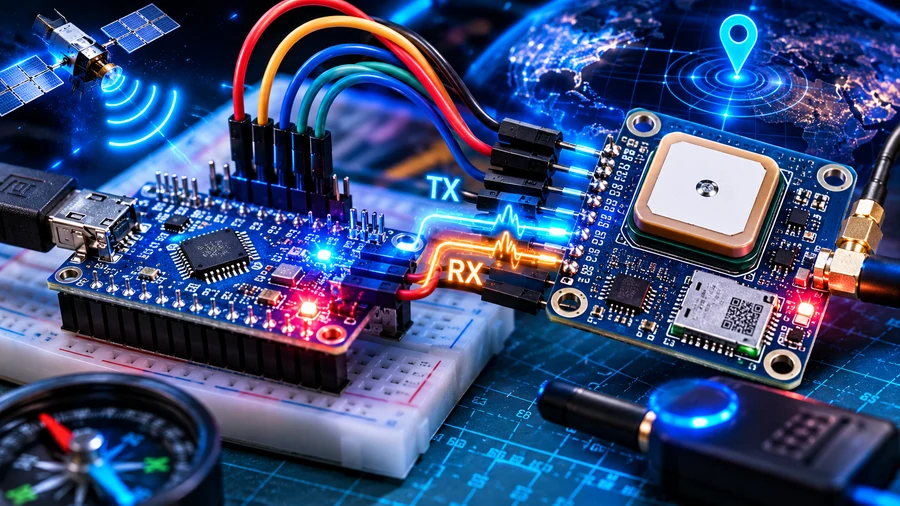
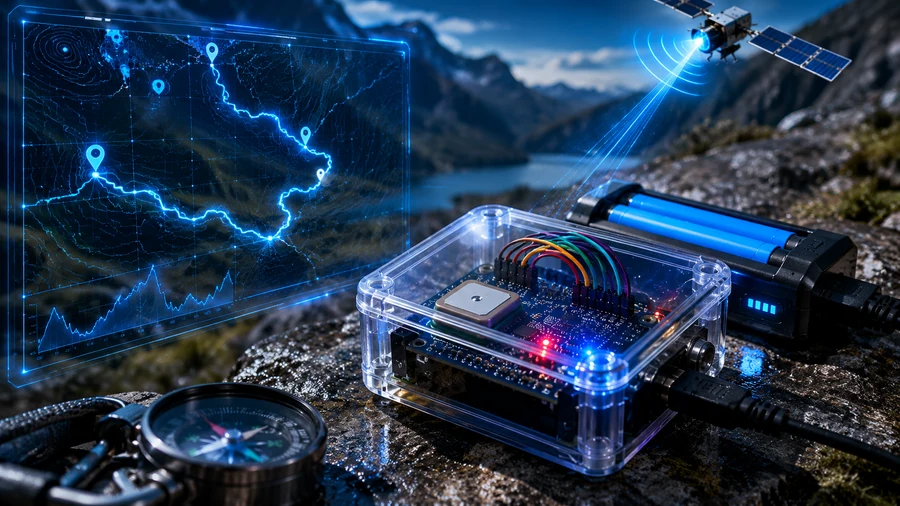
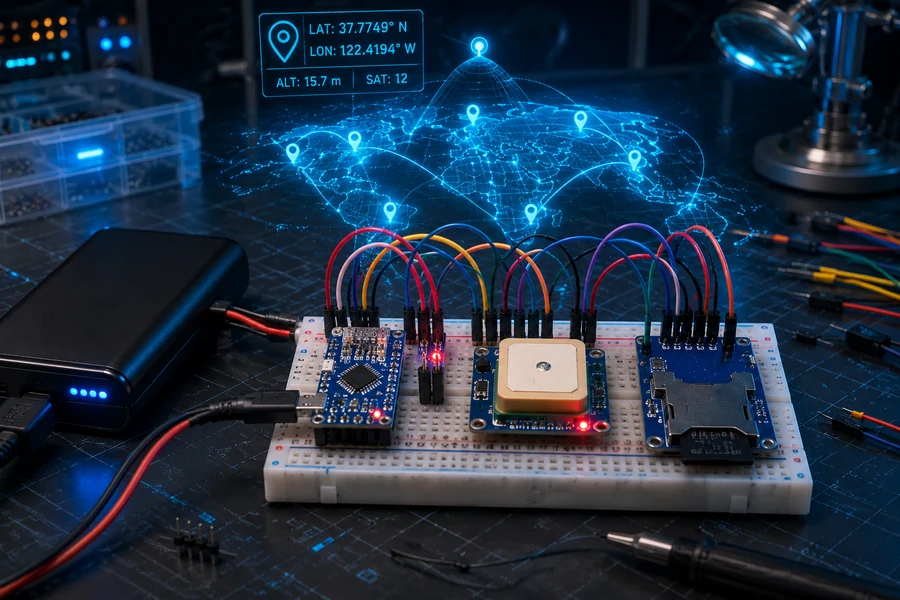
You are building a compact GPS data logger. When the tracker is powered on, the GPS module listens for satellite signals. The Arduino reads the GPS serial stream, extracts useful location data, and saves it as a CSV file on the MicroSD card.
After a walk, bike ride, field test, or vehicle trip, you can remove the card and open the log on your computer. The result is a simple but very real location tracking system.
Parts You Need
Recommended Parts List
| Component |
Description |
Amazon Link |
| Arduino Nano |
Main controller board for the GPS tracker |
View on Amazon |
| NEO-6M GPS Module |
Receives live satellite GPS coordinates |
View on Amazon |
| MicroSD Module |
Stores GPS route data to memory card |
View on Amazon |
| MicroSD Card |
Stores CSV tracking logs |
View on Amazon |
| USB Power Bank |
Portable battery power for field testing |
View on Amazon |
| Jumper Wires |
Breadboard and module connections |
View on Amazon |
Important: GPS modules usually need a clear view of the sky. Indoor testing is often weak or totally dead. Test near a window only for basic serial checks, then go outdoors for real lock testing.
How GPS Serial Data Works
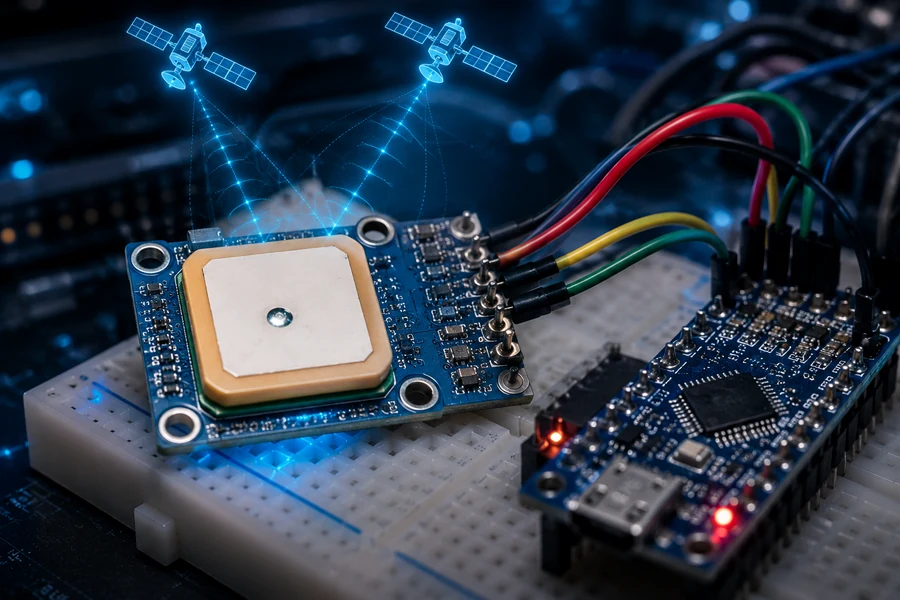
The GPS module sends a constant stream of text sentences called NMEA data. Those sentences contain time, satellite status, latitude, longitude, speed, altitude, and other values. Reading raw GPS sentences by hand is ugly, so the Arduino sketch uses TinyGPSPlus to parse the data into clean values you can use.
The basic flow is simple:
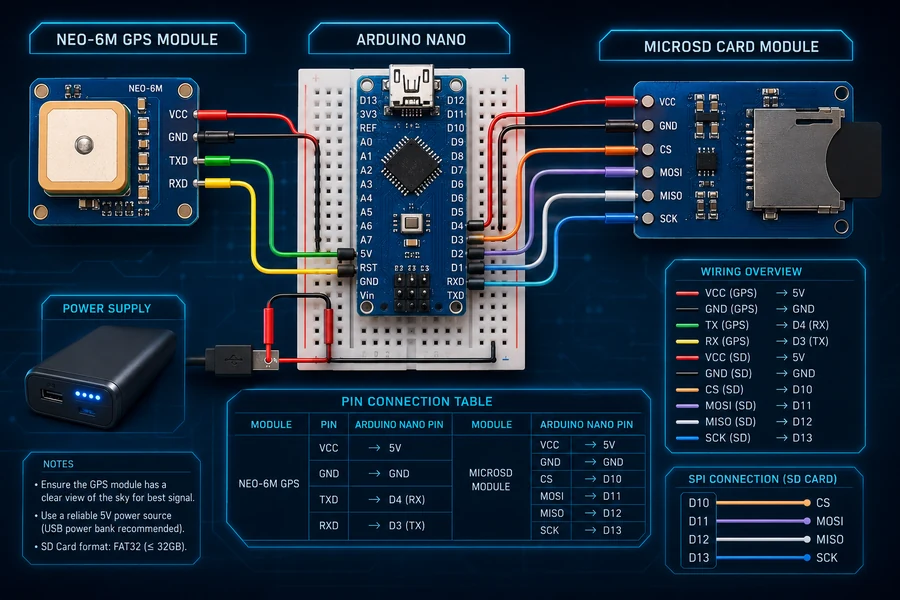
- The GPS module sends serial data through its TX pin.
- The Arduino receives that data on a software serial pin.
- TinyGPSPlus checks the stream and extracts valid location updates.
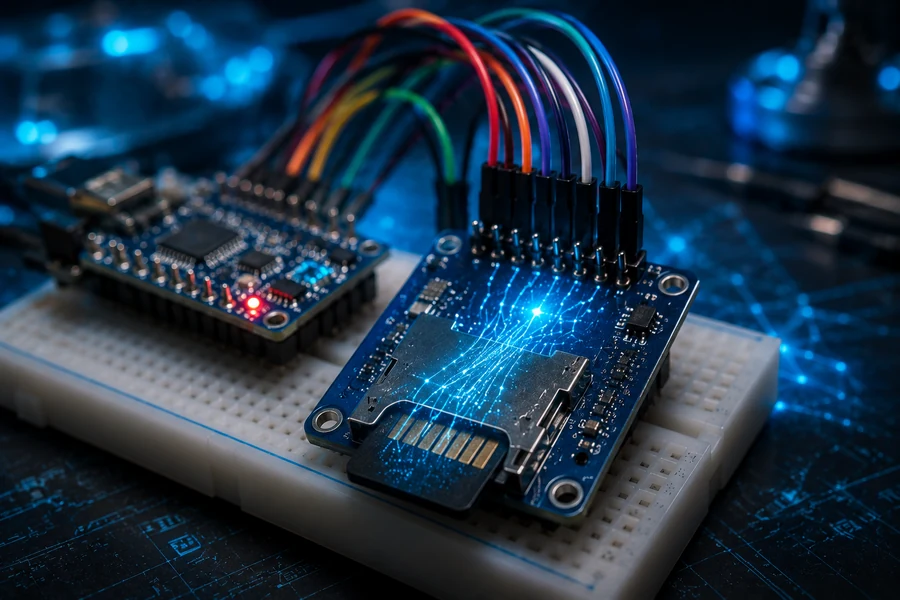
- The SD module writes each valid point to gpslog.csv.

Install the Arduino Libraries
- Open the Arduino IDE.
- Go to Sketch - Include Library - Manage Libraries.
- Search for TinyGPSPlus and install it.
- The SD, SPI, and SoftwareSerial libraries are normally already included with the Arduino IDE.
Full Arduino GPS Logger Code
This version reads GPS coordinates, prints them to the Serial Monitor, and saves valid points to a CSV file on the MicroSD card.
#include <TinyGPS++.h>
#include <SoftwareSerial.h>
#include <SPI.h>
#include <SD.h>

TinyGPSPlus gps;
SoftwareSerial gpsSerial(4, 3); // GPS TX to D4, GPS RX to D3

const int chipSelect = 10;
File gpsFile;

void setup() {
  Serial.begin(9600);
  gpsSerial.begin(9600);

  Serial.println("Arduino GPS Tracker Starting...");

  if (!SD.begin(chipSelect)) {
    Serial.println("SD card failed. Check wiring and card format.");
    return;
  }

  Serial.println("SD card ready.");

  gpsFile = SD.open("gpslog.csv", FILE_WRITE);
  if (gpsFile) {
    gpsFile.println("Date,Time,Latitude,Longitude,Altitude_m,Speed_kmph,Satellites");
    gpsFile.close();
  }
}

void loop() {
  while (gpsSerial.available() > 0) {
    gps.encode(gpsSerial.read());

    if (gps.location.isUpdated()) {
      logGPSData();
    }
  }
}

void logGPSData() {
  double latitude = gps.location.lat();
  double longitude = gps.location.lng();
  double altitude = gps.altitude.meters();
  double speed = gps.speed.kmph();
  int satellites = gps.satellites.value();

  Serial.print("Latitude: ");
  Serial.println(latitude, 6);
  Serial.print("Longitude: ");
  Serial.println(longitude, 6);
  Serial.print("Satellites: ");
  Serial.println(satellites);
  Serial.println("----------------------");

  gpsFile = SD.open("gpslog.csv", FILE_WRITE);

  if (gpsFile) {
    if (gps.date.isValid()) {
      gpsFile.print(gps.date.month()); gpsFile.print("/");
      gpsFile.print(gps.date.day()); gpsFile.print("/");
      gpsFile.print(gps.date.year());
    } else {
      gpsFile.print("NO_DATE");
    }

    gpsFile.print(",");

    if (gps.time.isValid()) {
      gpsFile.print(gps.time.hour()); gpsFile.print(":");
      gpsFile.print(gps.time.minute()); gpsFile.print(":");
      gpsFile.print(gps.time.second());
    } else {
      gpsFile.print("NO_TIME");
    }

    gpsFile.print(",");
    gpsFile.print(latitude, 6);
    gpsFile.print(",");
    gpsFile.print(longitude, 6);
    gpsFile.print(",");
    gpsFile.print(altitude);
    gpsFile.print(",");
    gpsFile.print(speed);
    gpsFile.print(",");
    gpsFile.println(satellites);

    gpsFile.close();
  } else {
    Serial.println("Could not open gpslog.csv");
  }
}
Portable Power Setup
For the first build, use a USB power bank. It is safer, easy to recharge, and gives you stable 5V power. Once the project works, you can move to a smaller Li-ion battery module and a project enclosure.
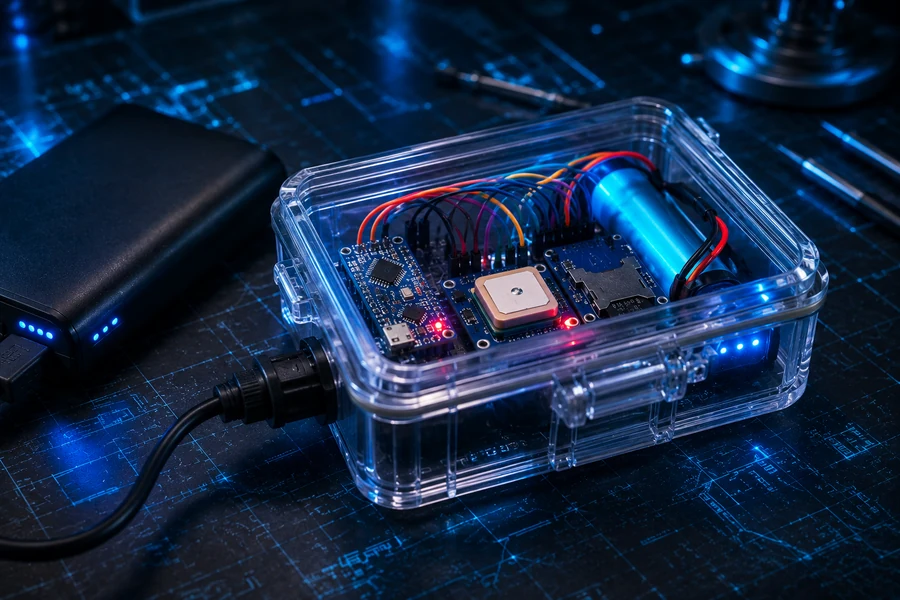
Do not skip this: If you use a lithium battery, use a proper charging and protection board. Do not connect raw Li-ion cells directly to an Arduino project unless you know exactly what you are doing.
Outdoor Field Test
Take the tracker outside, power it on, and give the GPS module time to lock. A cold start can take several minutes. Once it has lock, move around slowly and watch the Serial Monitor. If the latitude and longitude values update, your tracker is working.
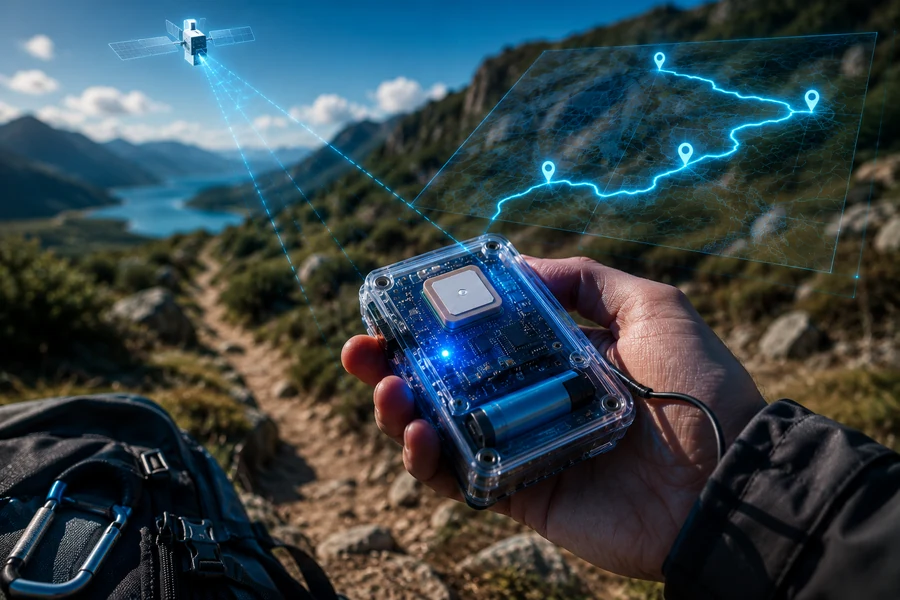
- Power the tracker from the USB battery pack.
- Wait for GPS lock outdoors.
- Let it log for at least 5 to 10 minutes.
- Remove the MicroSD card.
- Open gpslog.csv on your computer.
Reading the CSV Log
Your CSV file will contain rows of location data. You can open it in a spreadsheet, clean it up, and use the latitude and longitude points with mapping tools.
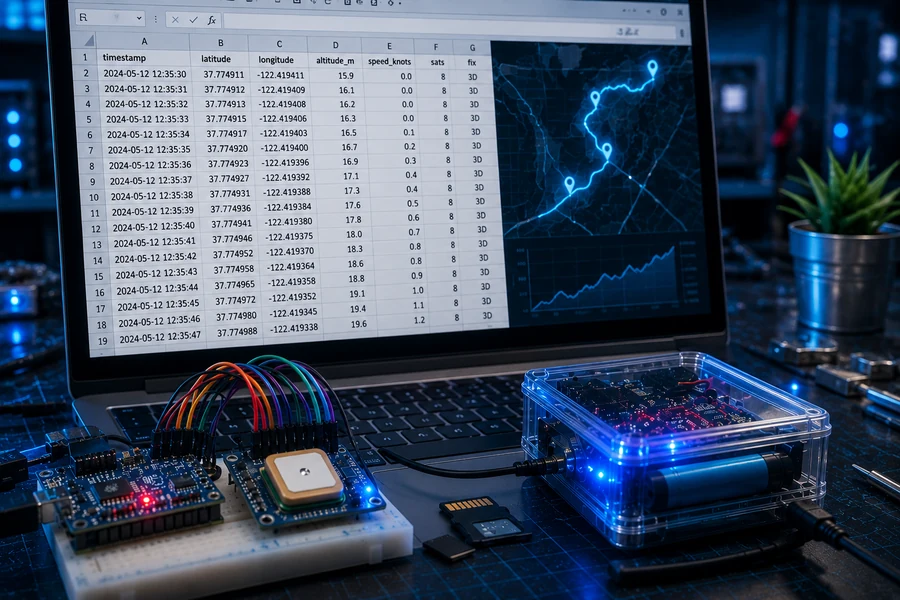
| Column | Meaning |
|---|
| Date | GPS date if available. |
| Time | GPS time in UTC. |
| Latitude | North/south coordinate. |
| Longitude | East/west coordinate. |
| Altitude_m | Estimated altitude in meters. |
| Speed_kmph | Estimated movement speed. |
| Satellites | Number of satellites used by the GPS module. |
Troubleshooting
| Problem | Fix |
|---|
| No GPS coordinates | Go outdoors, wait longer, and check that GPS TX goes to Arduino D4. |
| SD card failed | Format the card as FAT32, check CS pin D10, and verify SPI wiring. |
| Random characters in Serial Monitor | Set the Serial Monitor to 9600 baud. |
| Only zeros or invalid data | The GPS has not locked yet. Wait outside with a clear sky view. |
| Tracker resets on battery | Use a better USB power bank or check your battery module current output. |
Recommended Video Section
These lightbox videos support the build: NEO-6M GPS setup, Arduino GPS data logging to MicroSD, and a complete Arduino GPS tracker walkthrough.
Download the Full GPS Tracker PDF Guide
Save the complete Arduino GPS Tracker tutorial offline with wiring, code,
GPS logging setup, portable power notes, and troubleshooting steps.
📄 Download PDF Guide