Mission
Learn fast. Build faster. Push your Raspberry Pi further.
This page is built for people who want to get things running, not waste time. You will find working downloads, clear setup steps,
and practical tools that help you move from first boot to real Raspberry Pi projects fast.
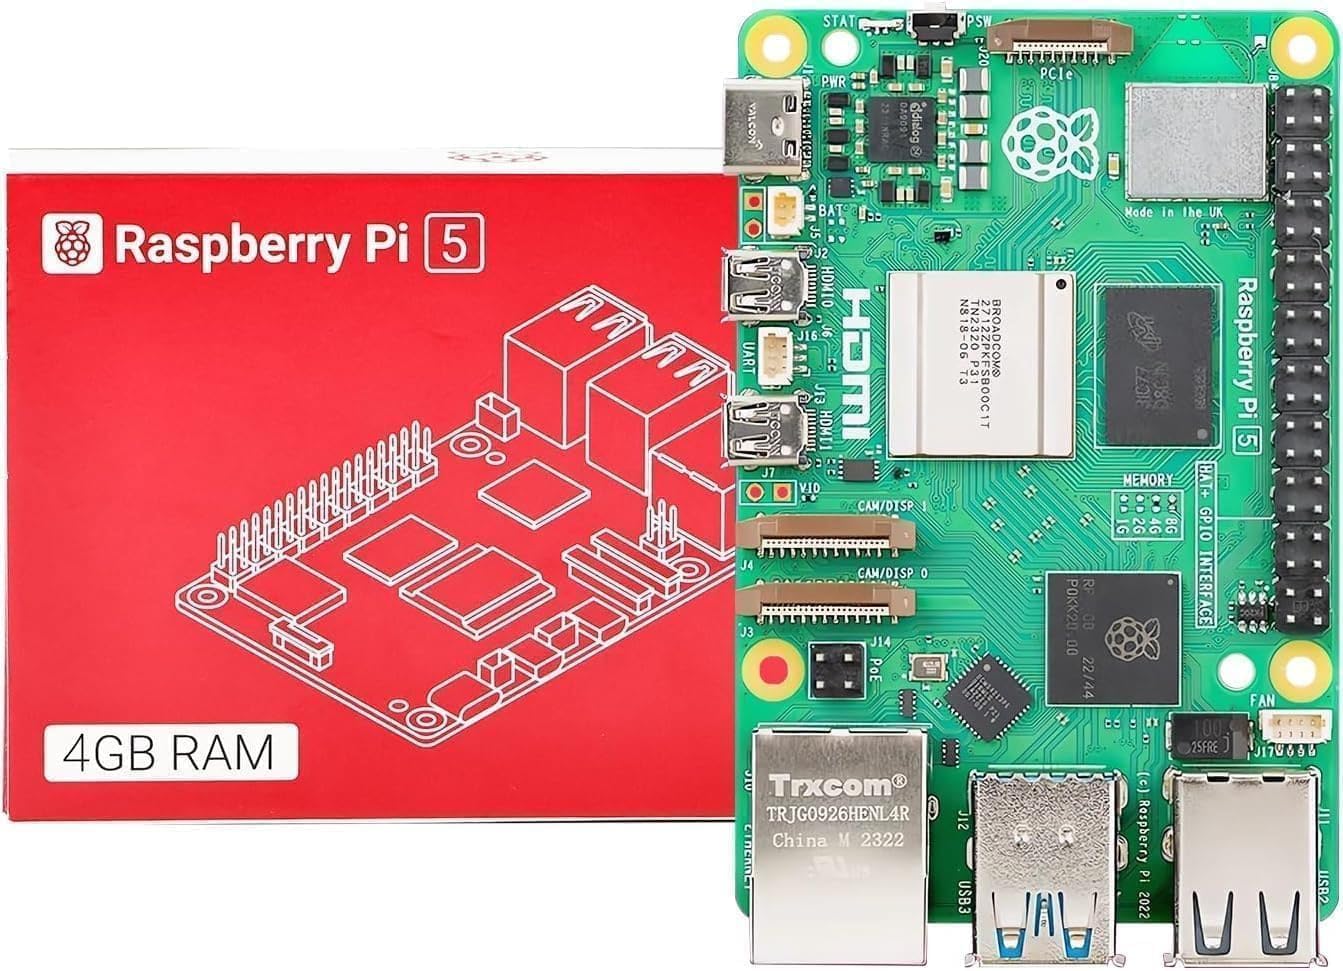
Headless setup: install with Wi-Fi and SSH already configured
Detailed headless setup description
- Open Raspberry Pi Imager and pick your Pi model, operating system, and storage card.
- Open the customization options and set a hostname so the device is easier to find on your network.
- Enter your Wi-Fi SSID and password, and make sure the country/region is correct.
- Enable SSH so you can connect without a monitor, keyboard, or mouse.
- Create your username and password before writing the card.
- Write the image, insert the microSD card into the Pi, connect power, and let it boot fully.
- From another computer on the same network, connect using your hostname or IP address with SSH.
- Once inside, run updates and any configuration changes you want before starting projects.
Headless setup lets you run your Raspberry Pi without a monitor, keyboard, or mouse. Preconfigure Wi-Fi and SSH, power it on, and connect remotely from another device in minutes.